Case study · Custom Jewelry Designer
Turning your favourite travel memories into wearable art.
A parametric jewelry designer that turns real terrain and map data into personalized jewelry.

01 — How it started
Personalization in jewelry rarely goes past a laser engraving.
I set out to understand what makes jewelry meaningful: fashion preferences, inherited pieces, souvenirs from trips, and the emotions attached to each. Most “personalized” offerings I found only let you engrave a name or date, with almost no real customization.
The breakthrough was realizing that places evoke emotion and visual memory, and those memories are core to each person. Location became the conceptual anchor for the whole project.
“Places have the ability to evoke emotion and visual memories which are core to each person.”
02 — Discovery & findings
My own workflow was the bottleneck.
As a silversmith, I looked at my current process and asked where technology could help. Lost-wax casting is slow, and each piece is destroyed after casting unless a mould is made beforehand.
Problem
The bottleneck
Lost wax is slow, and every piece is destroyed in casting. Unique work does not scale.
Goal
The goal
Keep pieces unique and custom while increasing production capacity.
Idea
The idea
Let users design their own piece and hand me a 3D file as the output.
03 — Requirements
What the build needed to do.
01
3D rendering
Users see their piece with realistic lighting so they can judge the final product as closely as possible.
02
Export as .STL
Watertight meshes I can resin print and cast into a precious metal.
03
Downloadable inquiries
A backend that saves inquiries so I can follow up with potential customers.
04 — The concept
Map data in, one-of-one jewelry out.
A web application that integrates GIS and map data to create a unique, personalized design on a base 3D model. The vision: a kiosk where visitors design a piece, see it live, and order it.
Why
Objective
Innovate on retail by making jewelry shopping personal and interactive: a one-of-one piece no one else has.
Who
Target audience
Shoppers 16–35 who like to stand out and buy gifts, valuing quality and sentimental meaning over cheap trends.
Done means
Success criteria
A cohesive, complete experience. After designing, visitors view their ring in AR and add it to the gallery.
05 — User flow
From passerby to personalized piece.
A journey across the physical exhibit and the digital kiosk app.
Physical space
What the visitor does around the kiosk
Sees the kiosk
An animated screensaver and a jewelry display catch the eye from a distance.
Approaches
Reads the signage explaining the experience.
Touches the screen
Taps to start and begins the creation process.
Designs a piece
Uses the controls to create their own design.
Takes it with them
Exports to AR on their phone and shares to the gallery.
Digital space
The six screens of the kiosk app
Attract
Screensaver until someone touches the screen.
Choose type
Pick ring or pendant.
Choose location
Search a place that holds a memory.
Customize
Set layers, style and sizing with a live 3D view.
Preview
Review the final design.
Submit and View in Gallery
Add to shared creations, submit order request, then the session resets.
06 — Live flow
Pick a place. Shape the piece. Cast it in metal.
Step 1
Pick what to create
Ring or pendant.
Step 2
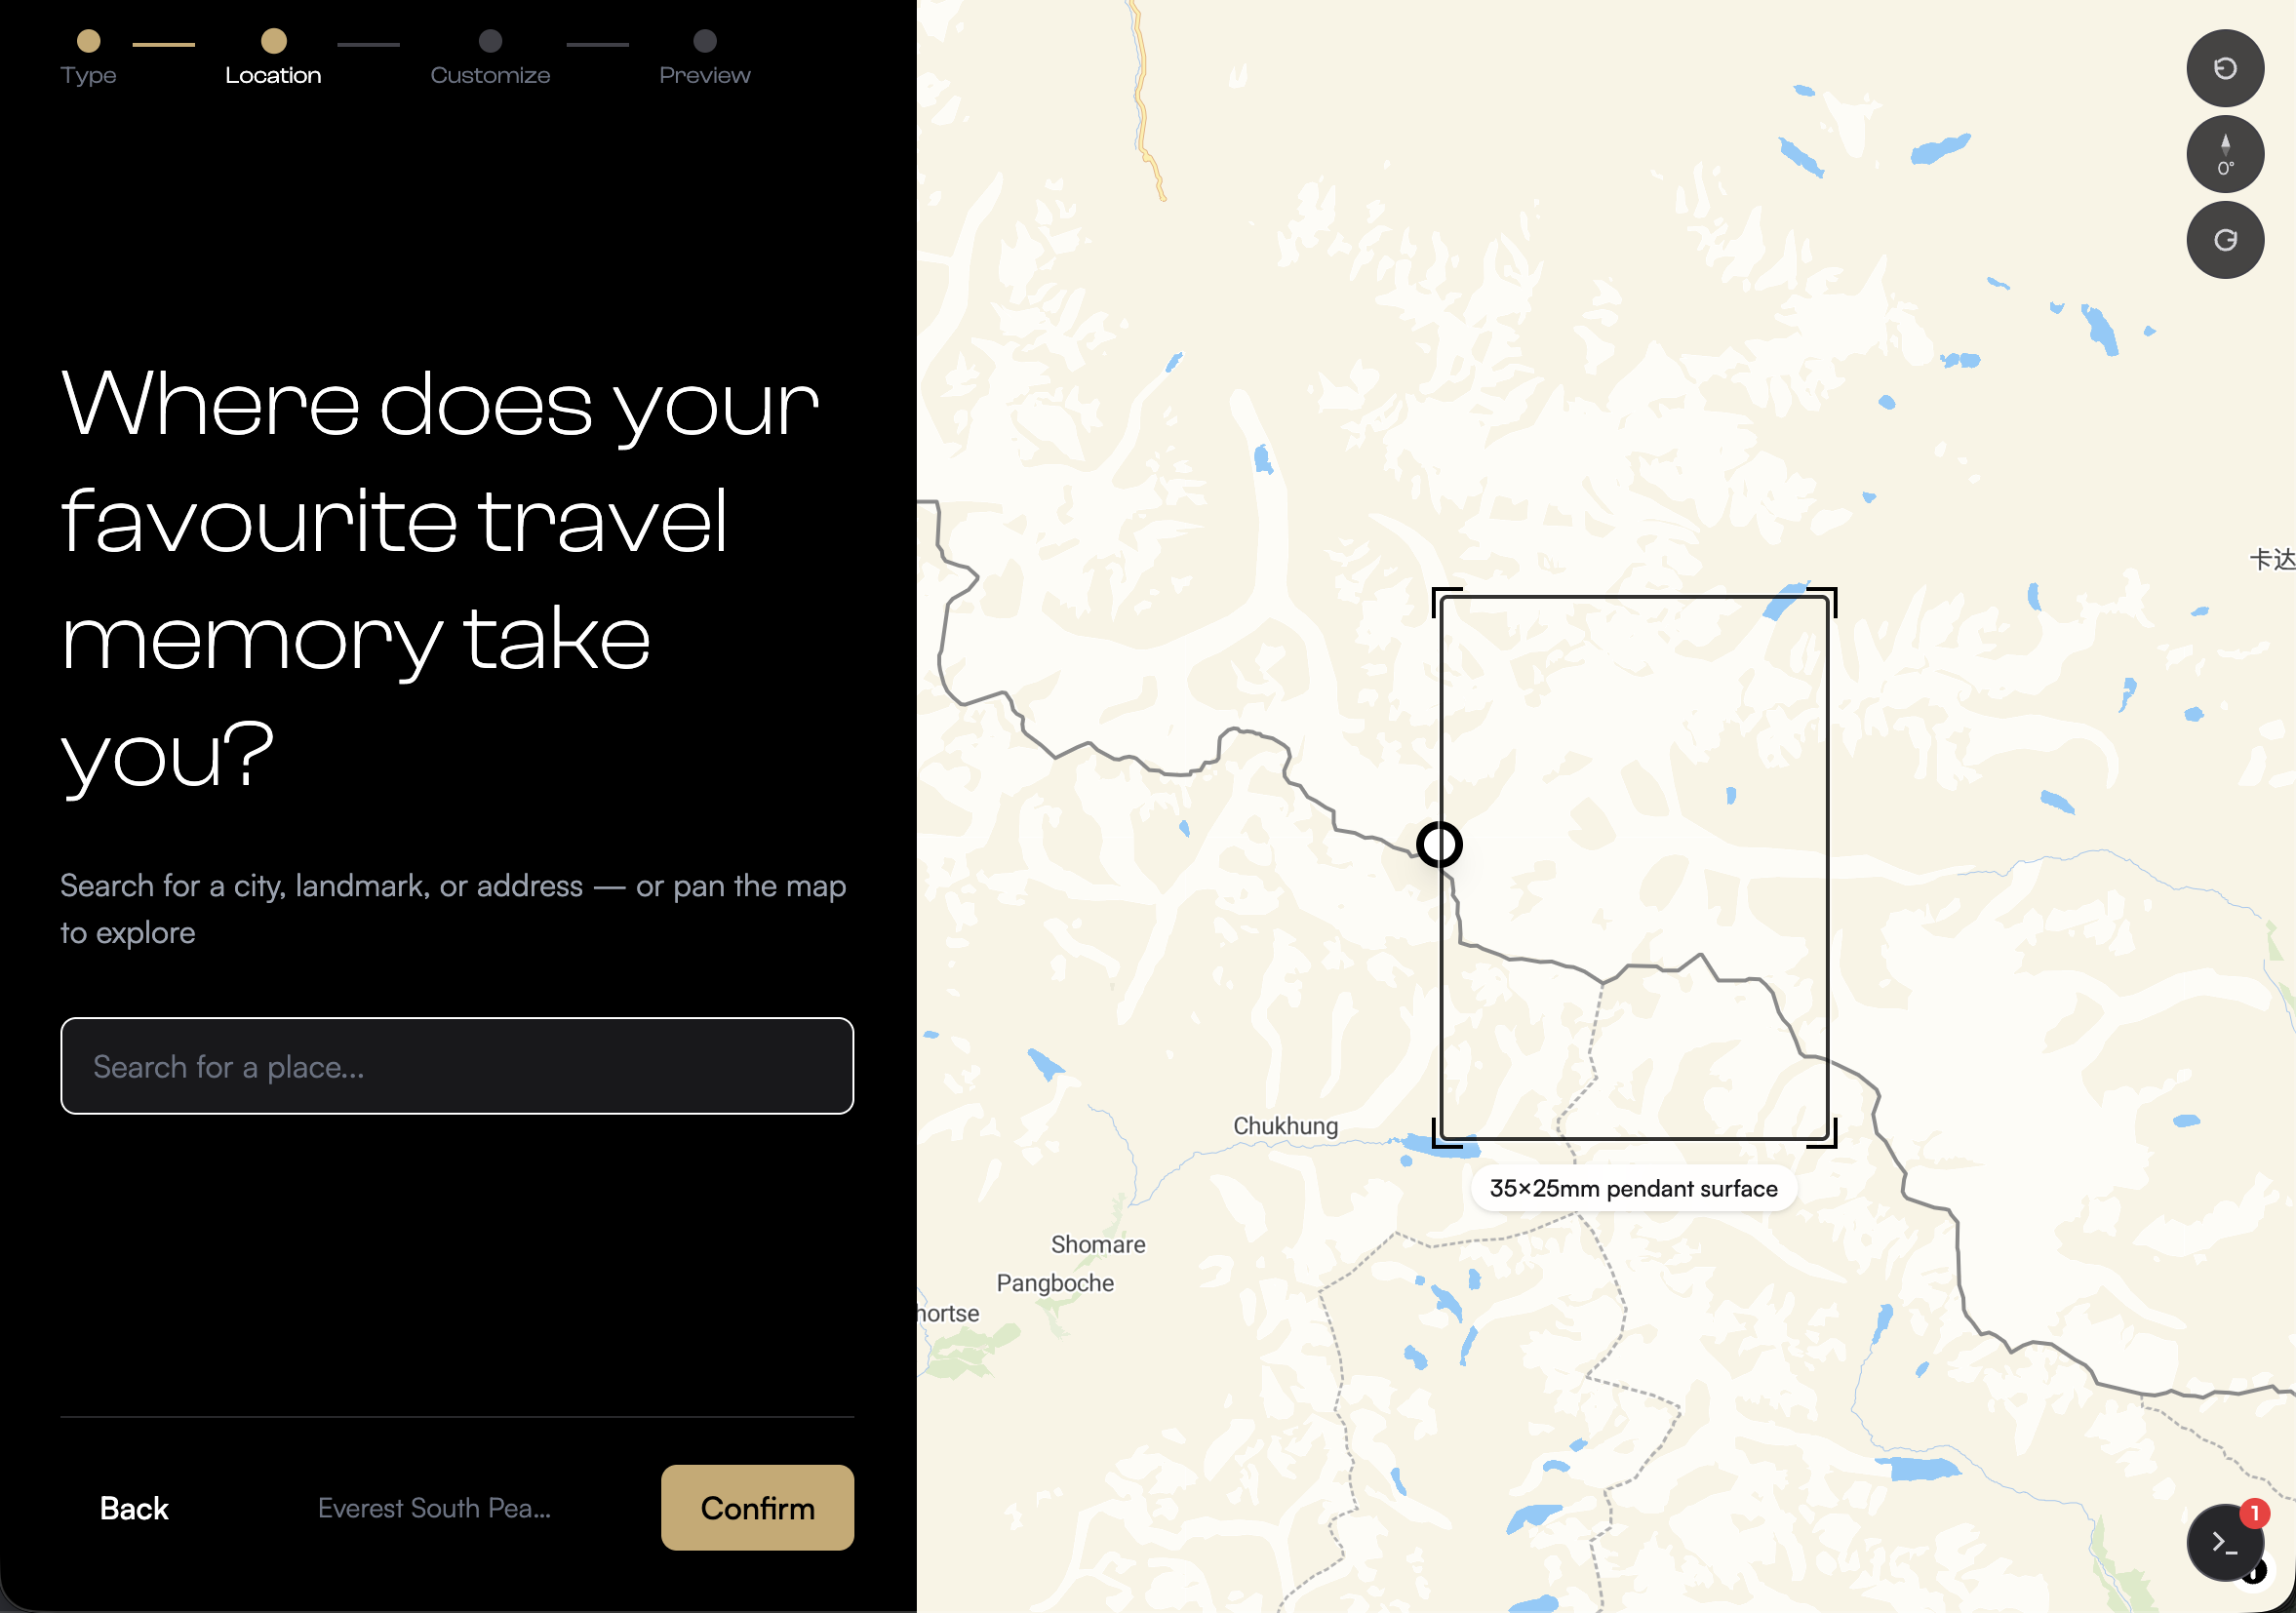
Pick a location
Which places hold a significant memory for you?
Step 3
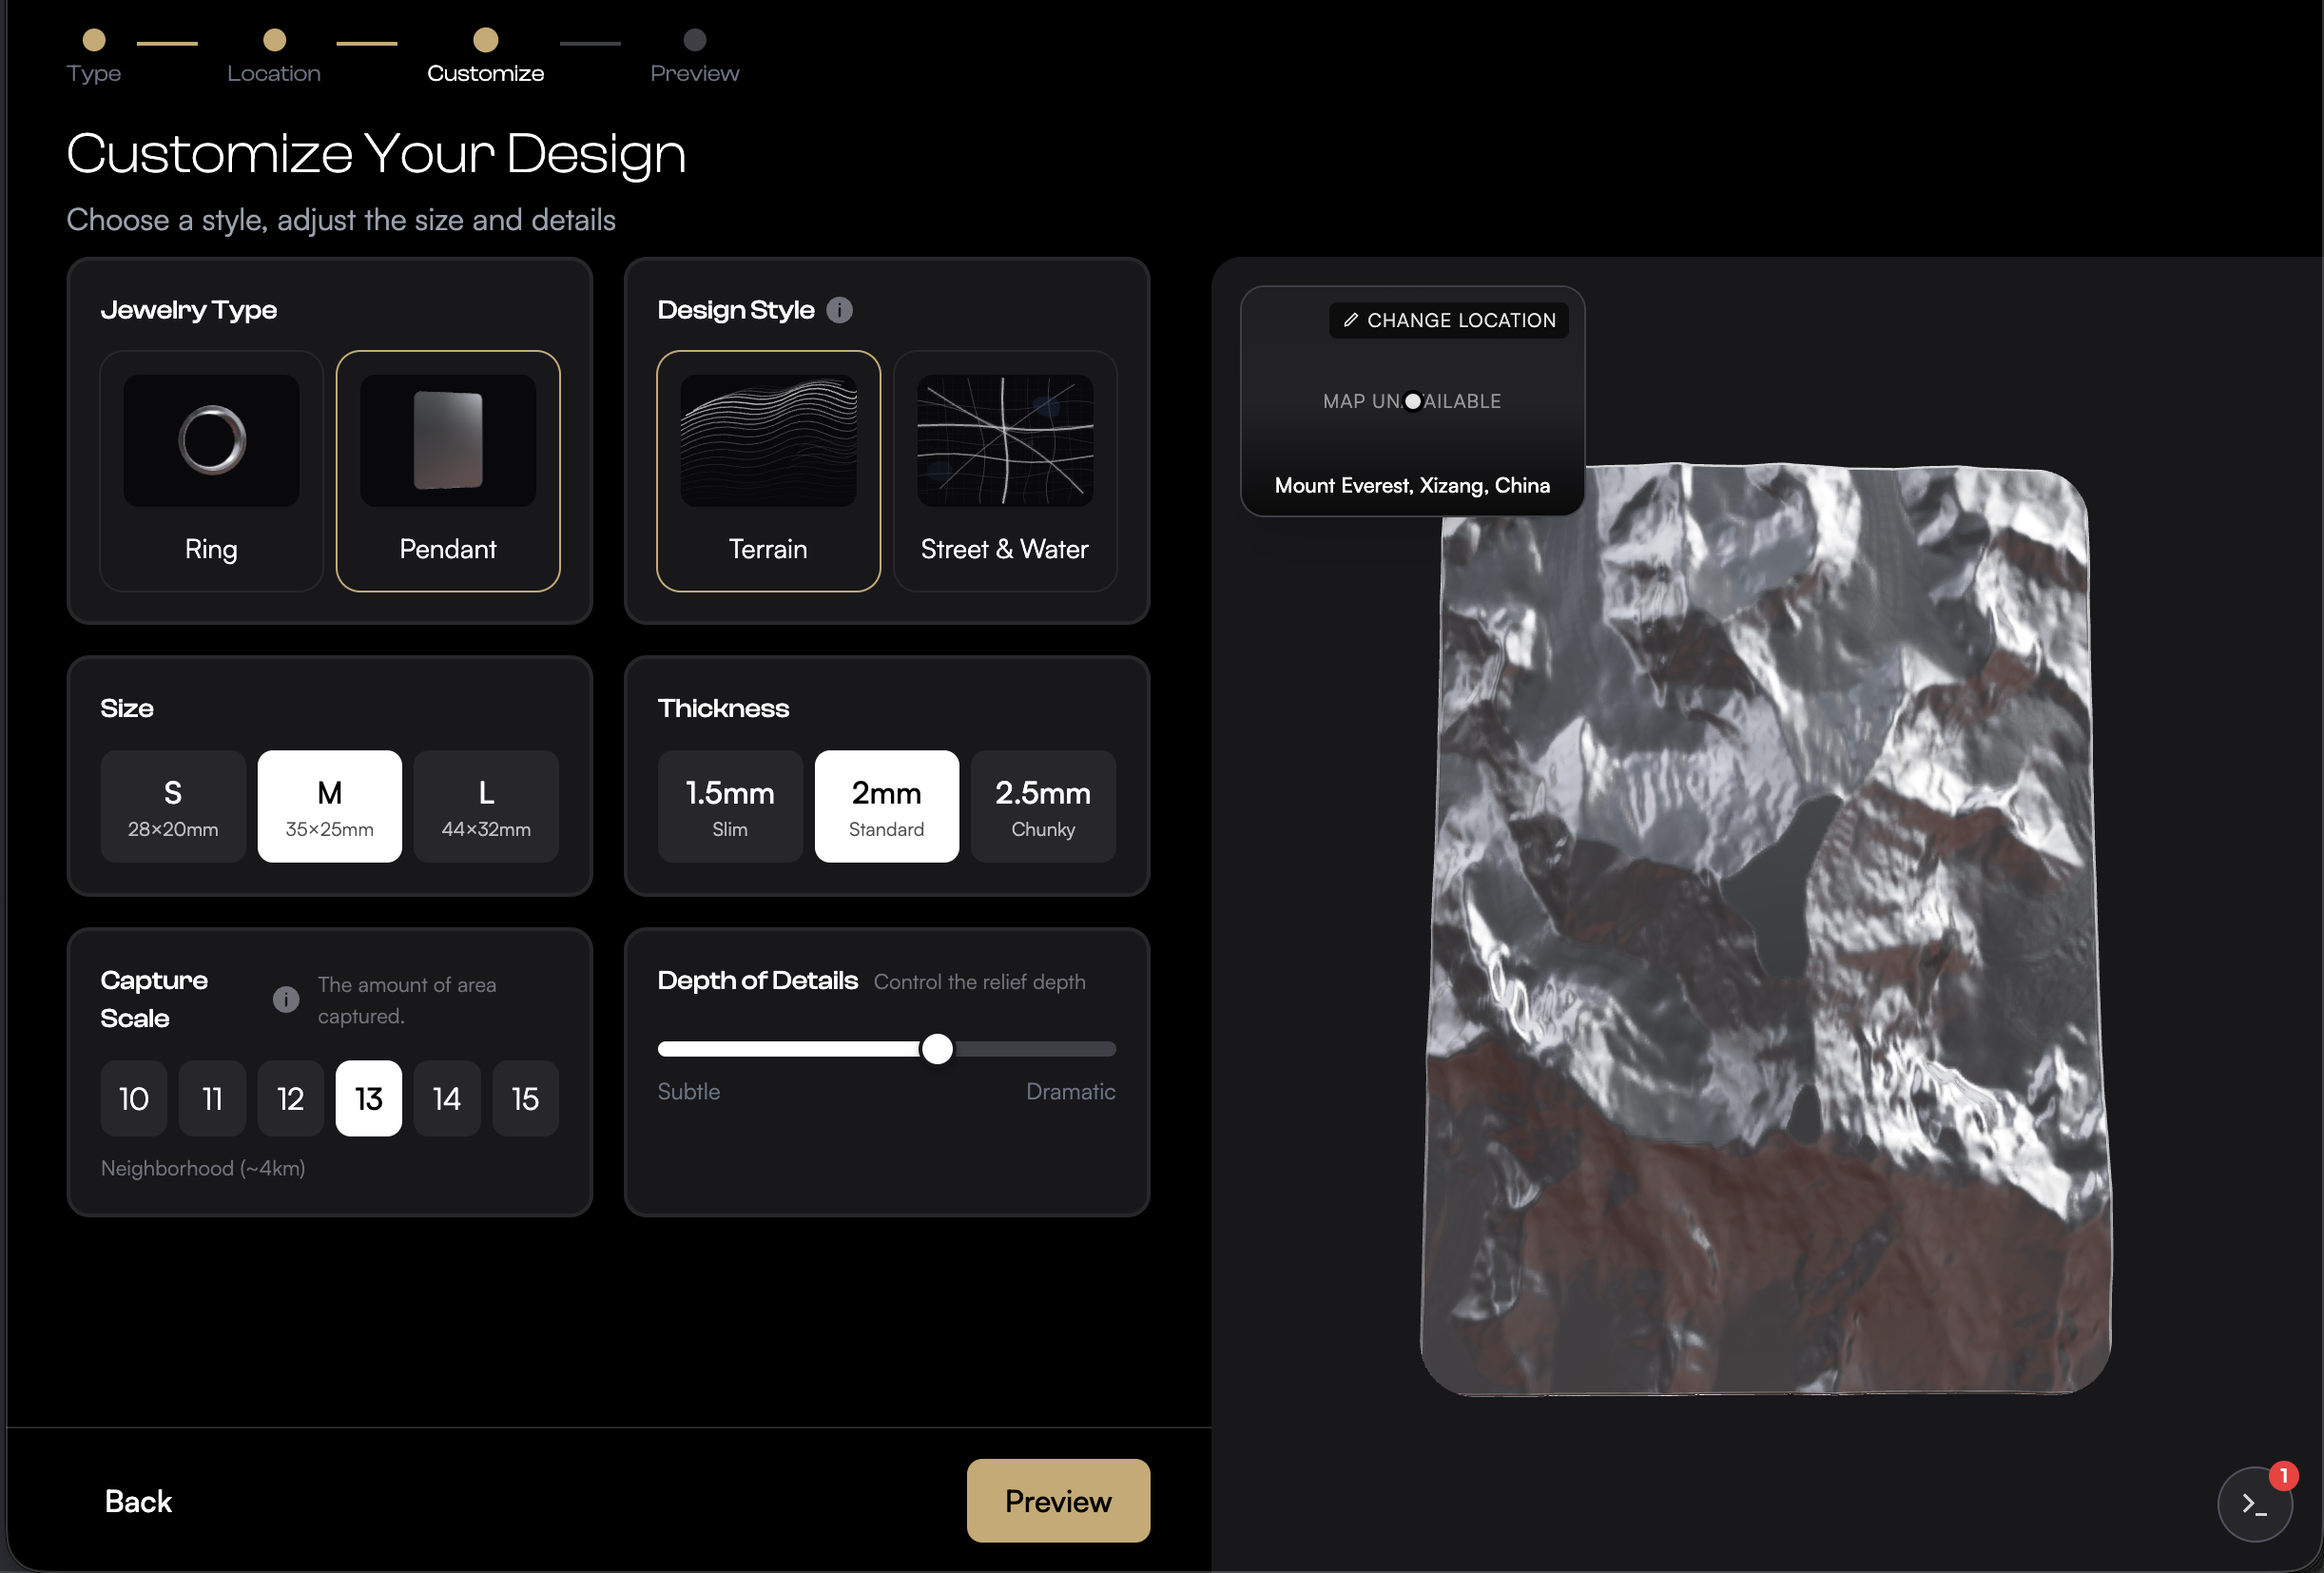
Style & customize
Adjust the design and sizing.
Step 4
Preview
Add to the gallery or submit an inquiry.
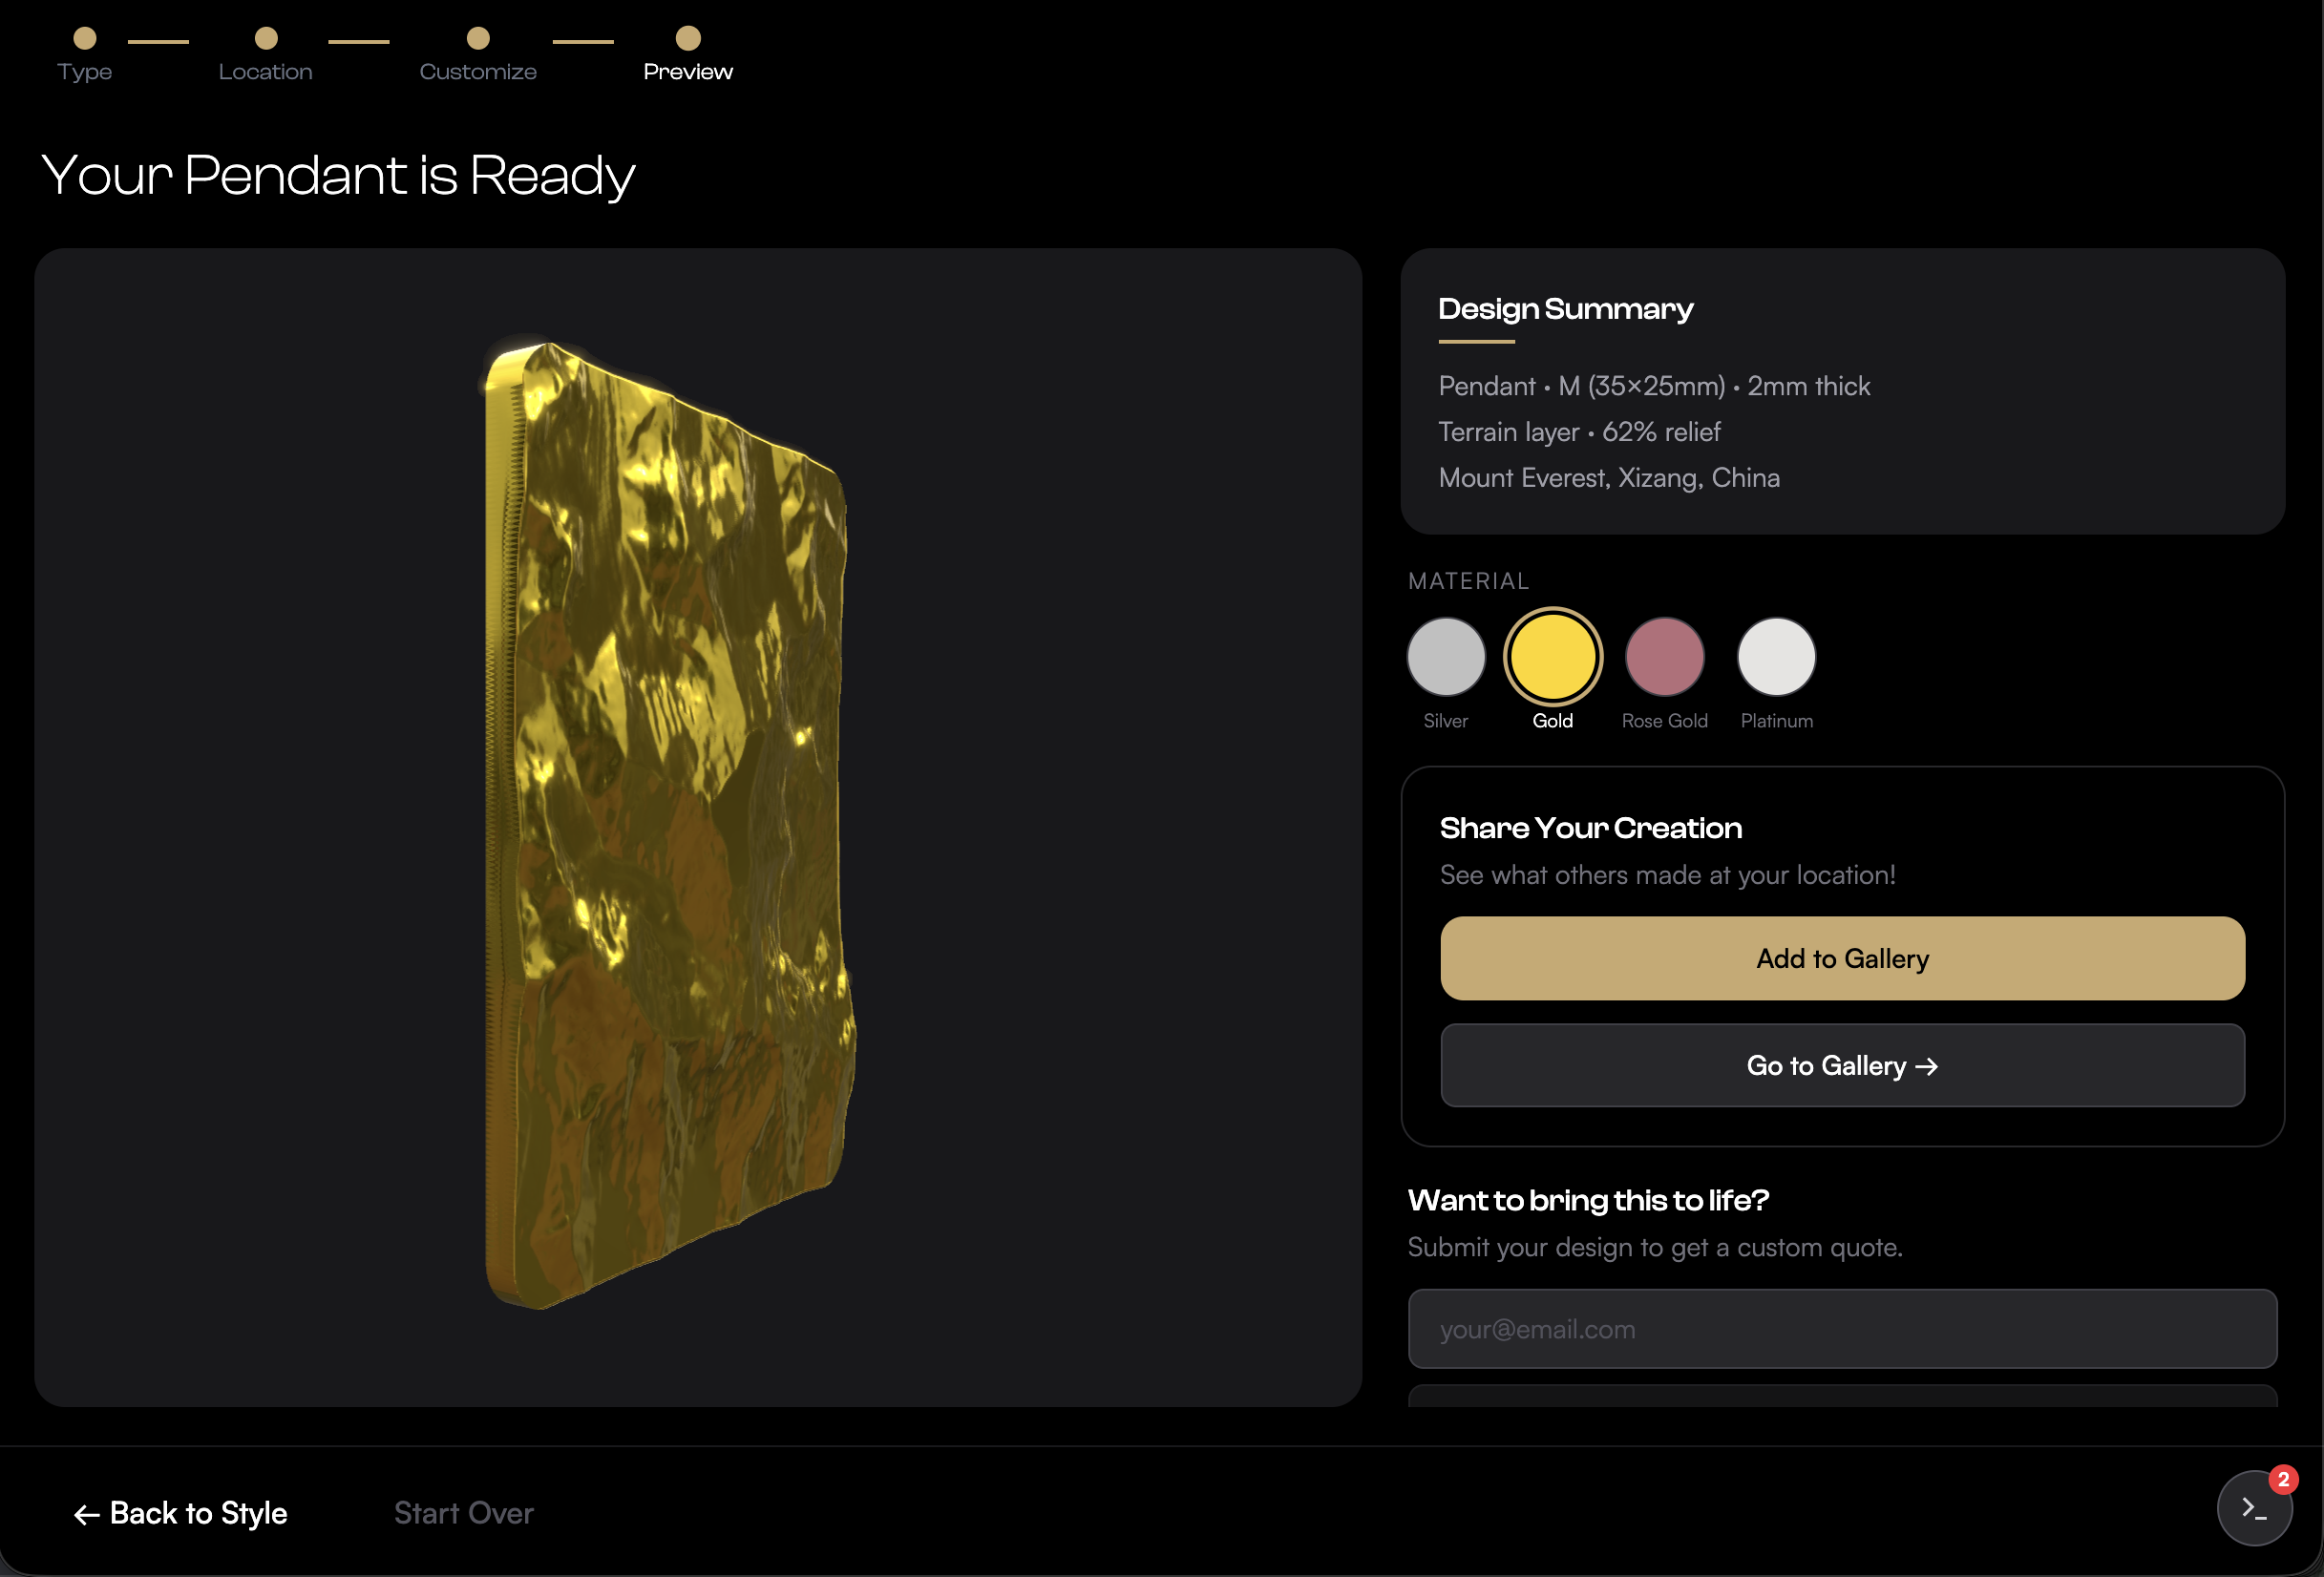
Post-process: the file is 3D printed in resin, cast into metal, polished and delivered.
07 — Development
How I built it.
1
Outline
Started with a clear user flow, APIs and what the MVP needs.
2
Tech stack
Did research to decide best frameworks to use for front-end, back-end, design libraries and plugins.
3
Build
Built in Antigravity using Claude Code.
Used Figma and Pencil for wireframing.
4
Test
Test while building, fix bugs, spot new features.
5
Iterate
Turn test notes into continuous improvements.
Tech stack
08 — Challenges
The hard parts.
01
3D rendering
Perfecting the 3D render and pipeline was the most challenging and time-consuming part of the project.
02
Making it intuitive
Customizing is exciting, but the feeling fades quickly if users get confused or the design is unclear.
03
Debugging
The most valuable lesson: building custom tools to debug visually.
09 — What I learned & what’s next
Lessons and next steps.
What I learned
— Building debugging tools with AI for visual code representation
— Novel experiences need user guidance and feedback
— Connecting Figma MCP in Claude to work with design systems
What’s next
— Test the product from start to finish to confirm a viable, high-quality outcome
— Refined UX and stronger visual branding
— Stripe integration and expanded micro-interactions
— Build similar parametric tools for themed collections